
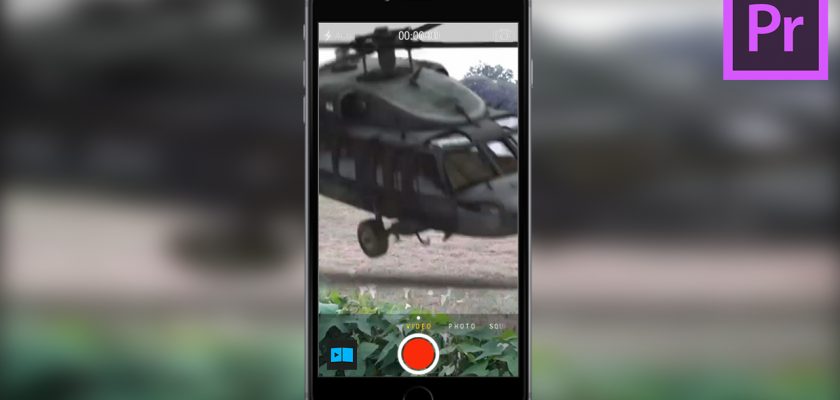
Let’s face it, most social media apps these days record vertical video for stories. If you’re looking to post these videos to other platforms like YouTube, you may not want to have black bars on the sides of your video. In this tutorial, learn how to enhance vertical videos for display in widescreen 16:9 format in Adobe Premiere Pro.
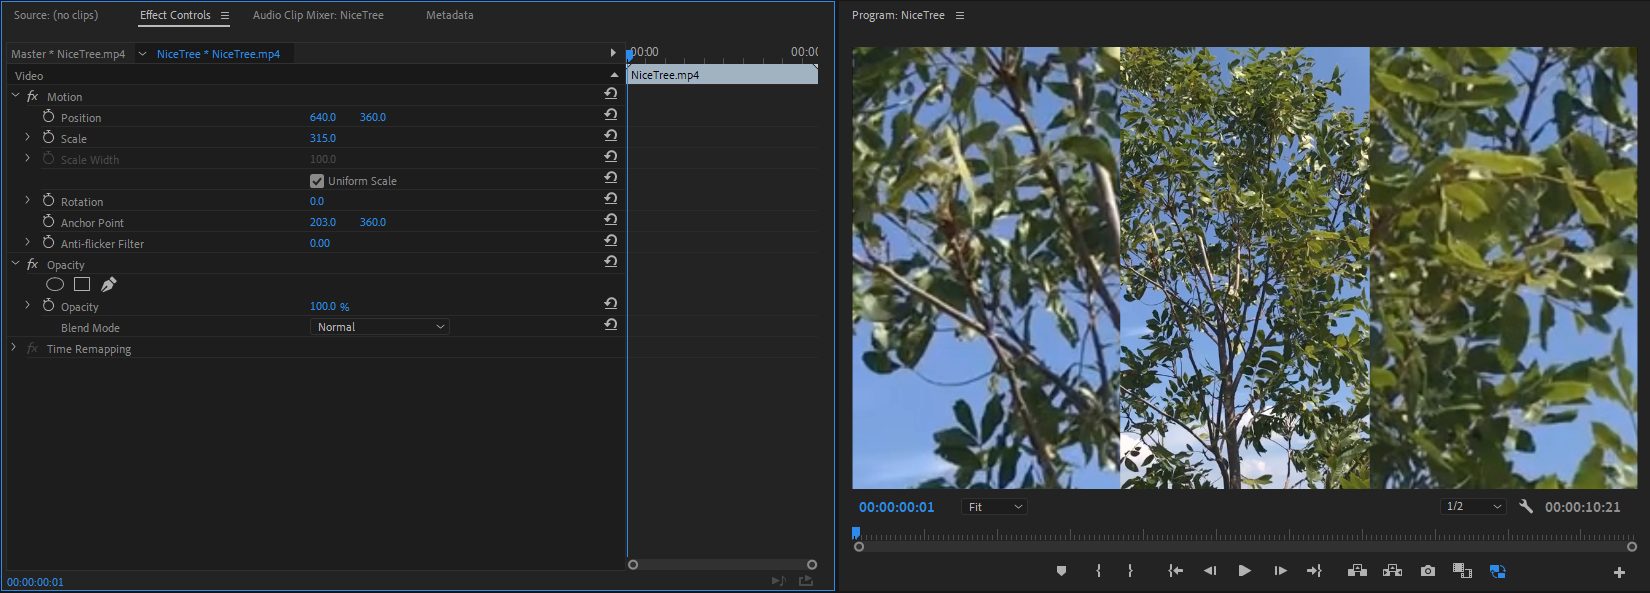
Before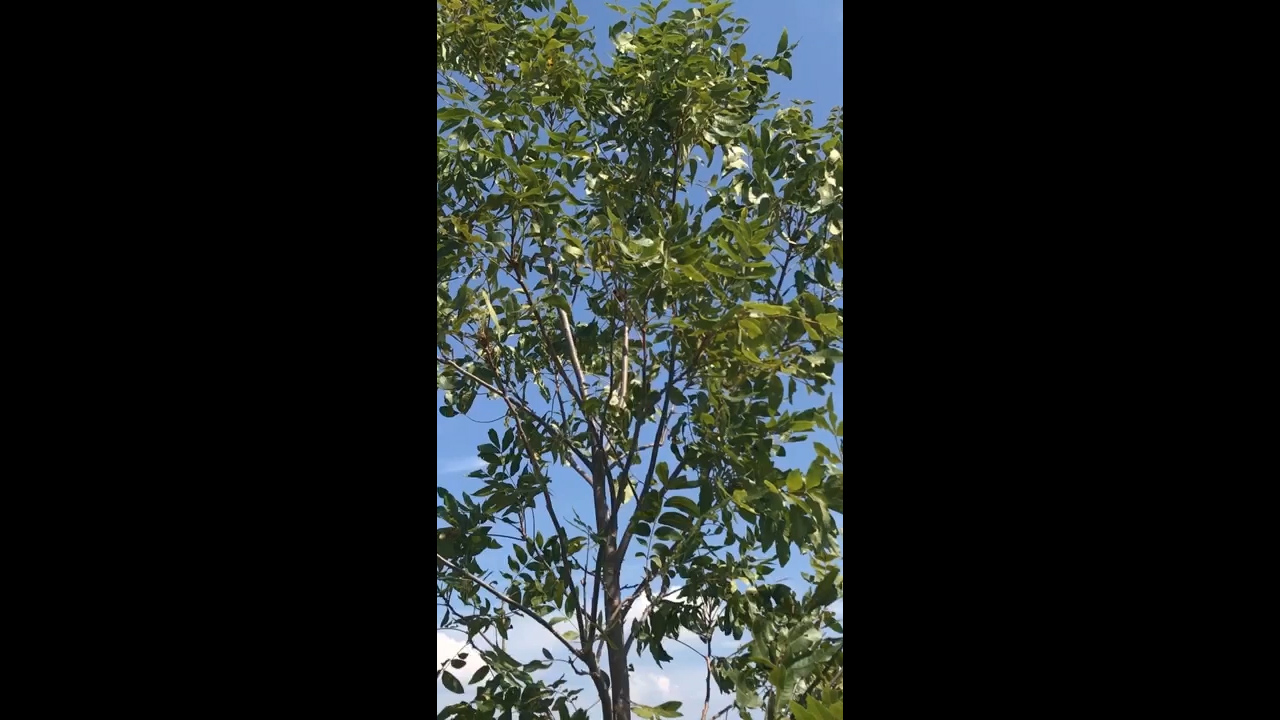
After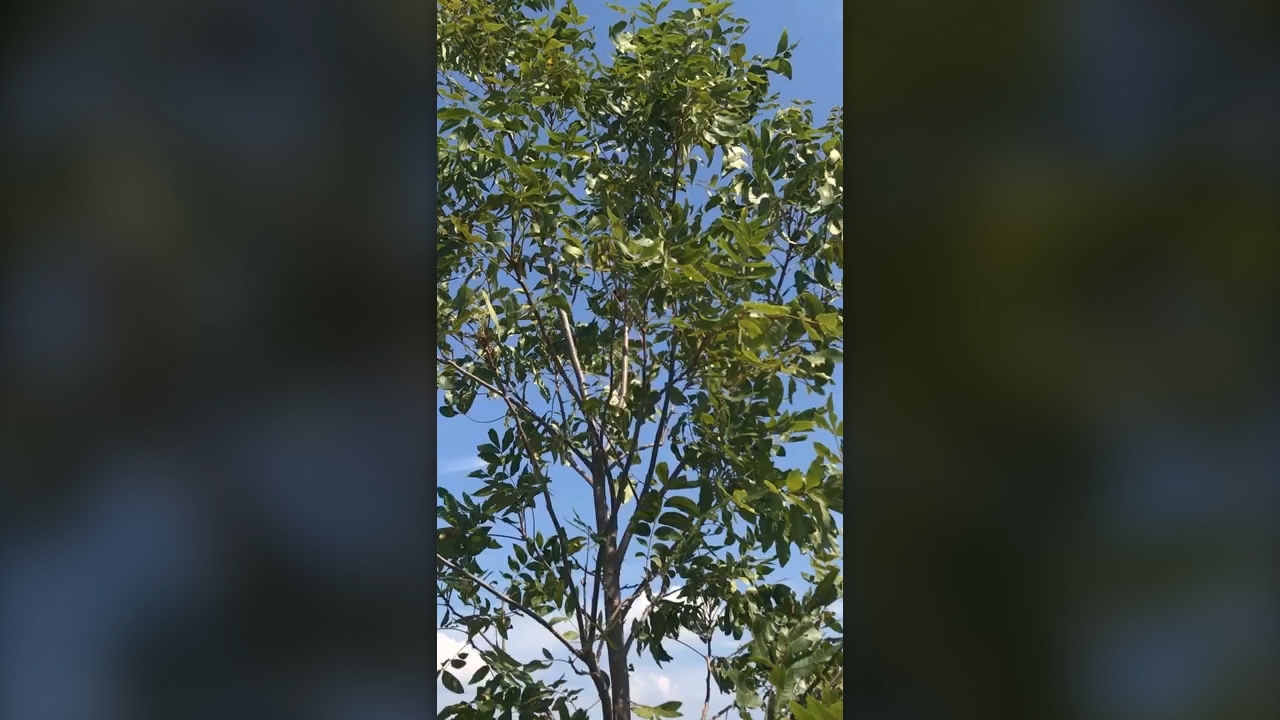
I’ve included the project file below as a free download as well. 🙂
Video Tutorial
Step 1
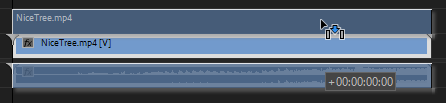
First, duplicate the video clip you want to enhance and place it one track above the original clip.
Step 2
Select the bottom most video clip and increase the scale until the black bars are gone.
Step 3
Apply the “Gaussian Blur” effect to the bottom clip.
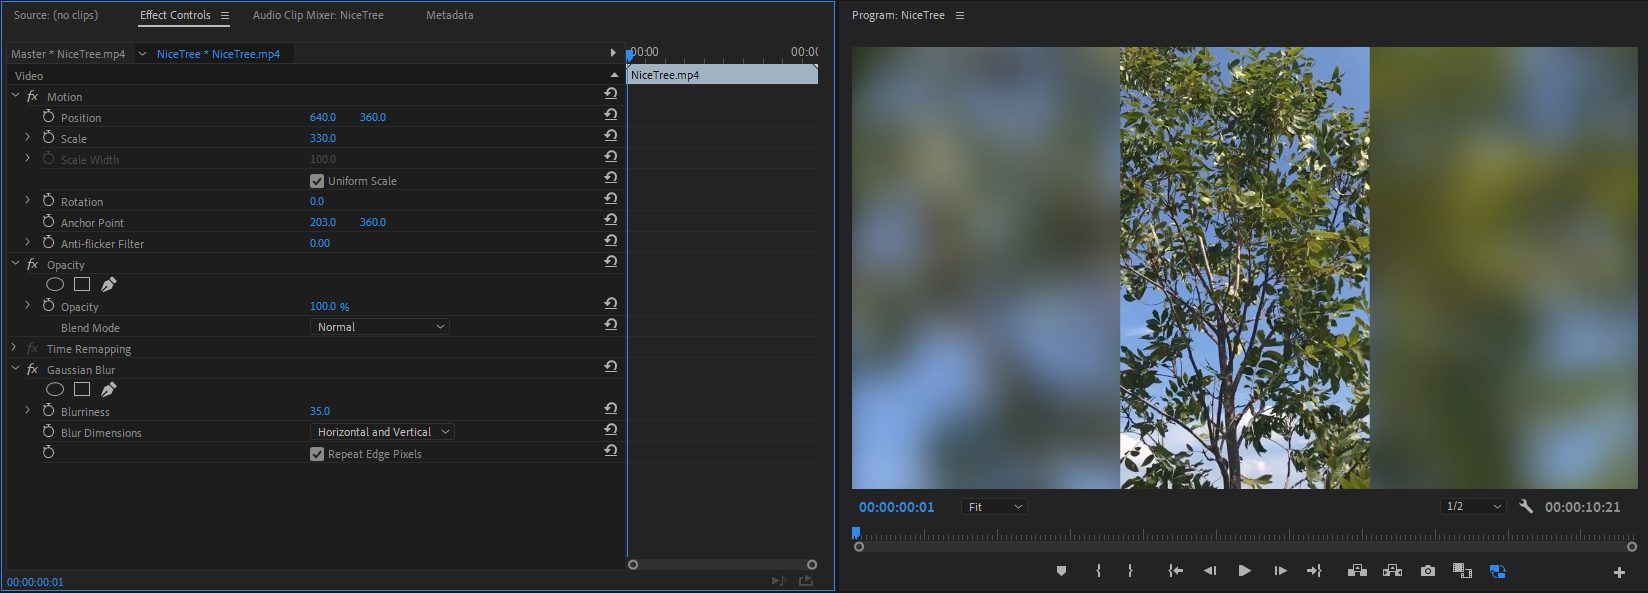
Note: If you’re getting black edges in your background video clip, increase the scale some more or check the “Repeat Edge Pixels” box for the Gaussian Blur effect.
![]()
Optionally, you can decrease the opacity of the background video clip.

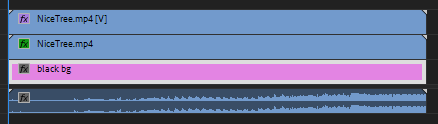
You may need to add a black Color Matte below the background video clip if you have other clips in the tracks below. When you decrease the opacity, you’ll want a solid background beneath these clips to darken it.
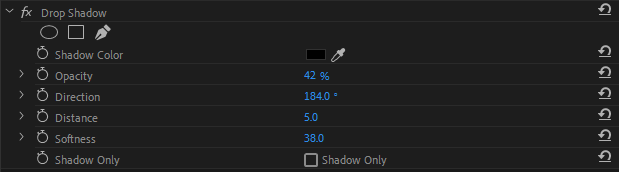
Optionally, you can add the “Drop Shadow” effect to the top most video track.
That’s all there is to it!
Comments