
Using shortcut keys for editing in Adobe Premiere Pro is useful for an efficient workflow. Let’s take a look at some of the ways you could use shortcuts to speed up your workflow.
The top keys I frequent most are V for the Move Tool and C for the Razor Tool. I also use Ctrl for making Ripple Edits all the time.
Ripple Edits
To temporarily toggle the Ripple Edit tool for trimming down a video, make sure you have the Move Tool active and hold Ctrl (Windows) or Cmd (Mac). The cursor will turn yellow letting you know it’s active. Once you trim the video clip, it will automatically fill in the gap without you having to readjust the video. Once you let go of Ctrl or Cmd, the cursor will turn back to the normal Move Tool (red).

For an even faster method, move the Playhead over the area you want to cut and press Q. This will trim the clip up to the Playhead and ripple delete the rest.

For trimming the end of a clip or everything after the Playhead, press W. This shortcut affects all tracks.
Note: If you’re trying to ripple edit footage and it won’t budge, check for grouped clips, audio tracks, or other video clips that are stuck. Re-adjust those clips or lock the tracks you don’t want affected by the ripple edit.
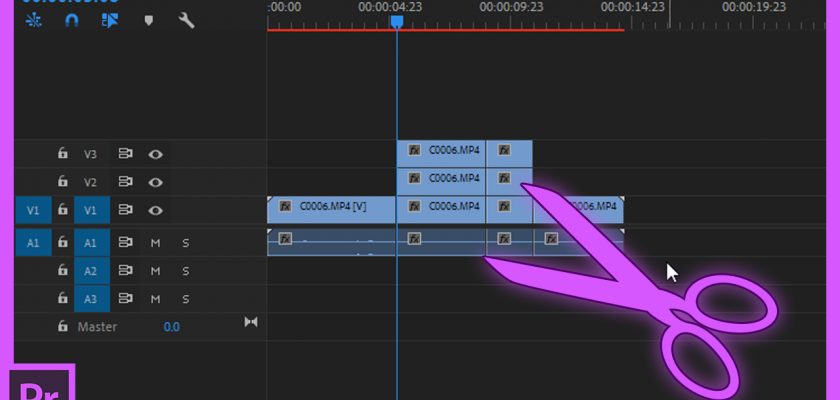
Cuts
To make a cut, simply press C and click wherever you want the cut to take place. If you want the cut to affect all tracks, hold Shift and all the tracks will be affected.
For more precise edits, move the Playhead over to the cut point and press Ctrl (Windows) or Cmd (Mac) + K to make a cut.

Press Ctrl (Windows) or Cmd (Mac) + Shift + K to affect all tracks.
Deleting Clips
When you press Delete, it will simply delete the clip but leave a gap. Press Shift + Delete and the track will ripple delete closing in the gap.
Comments