
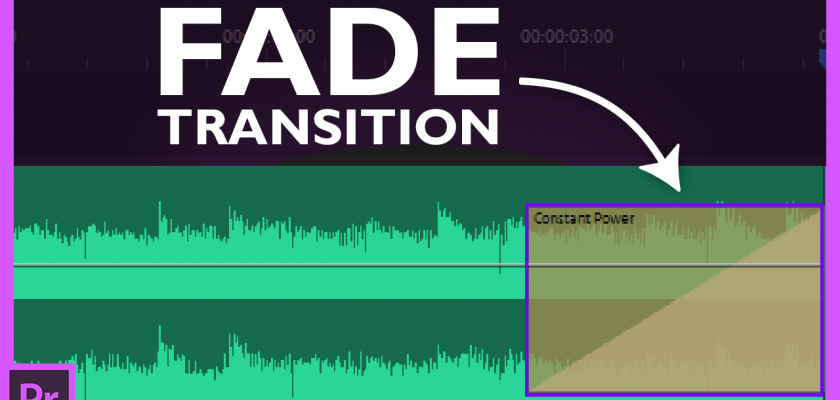
Premiere Pro includes three audio crossfade transitions for fading audio. They are Constant Gain, Constant Power and Exponential Fade. Hear the differences between each in our Instagram post below.
From the Effects Panel
These audio transitions can be found in the Effects Panel under Audio Transitions > Crossfade.
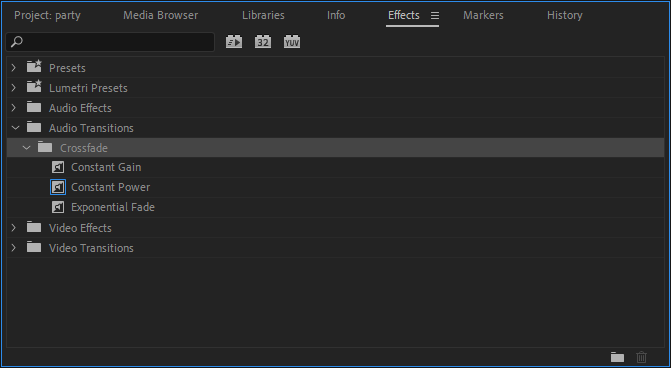
Constant Gain: Changes audio at a constant rate in and out as it transitions between clips. This can sometimes sound abrupt.
Constant Power: (Default Transition) Creates a smooth, gradual transition. The audio is decreased slowly at first and then quickly towards the end of the transition for the first clip. Then, increases quickly at first and then slowly toward the end of the transition for the second clip. Similar to the dissolve transition.
Exponential Fade: Fades out the first clips over a smooth logarithmic curve while fading up the second clip. You will hear brief silence between the two audio clips.
Setting the Duration
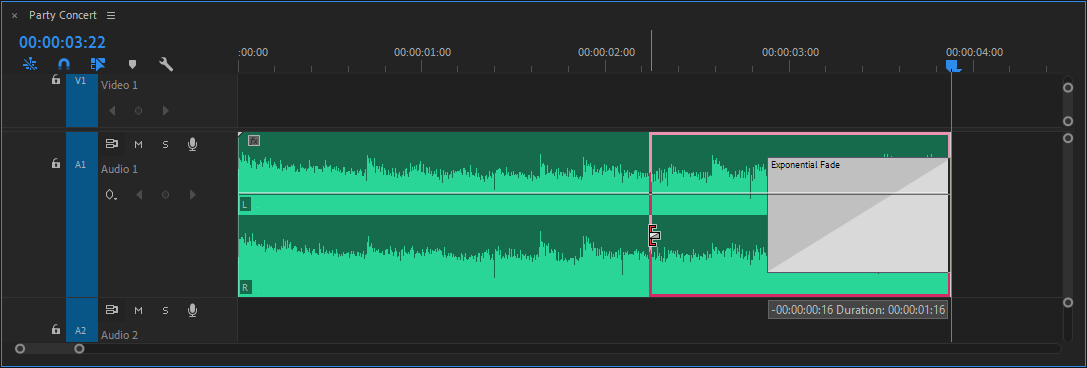
The duration of the transition can be adjusted by clicking and dragging it to the desired length. The audio transition length will either increase or decrease the time it takes to fade the audio in or out.
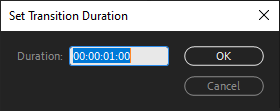
You can also double-click the transition to set its precise length.
Keyboard Shortcut
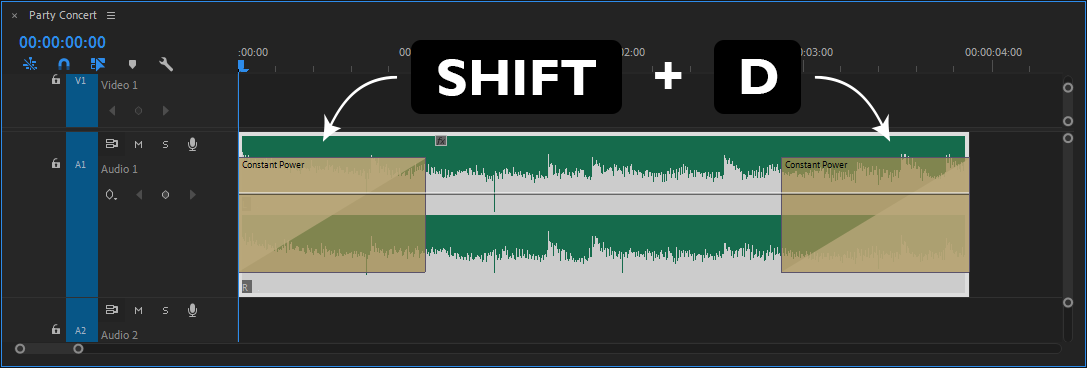
Use the keyboard shortcut Shift + D to automatically add a Constant Power audio transition to the beginning and end of all selected clips. Audio clips that are placed right next to each other will result in a crossfade between the two.
Comments