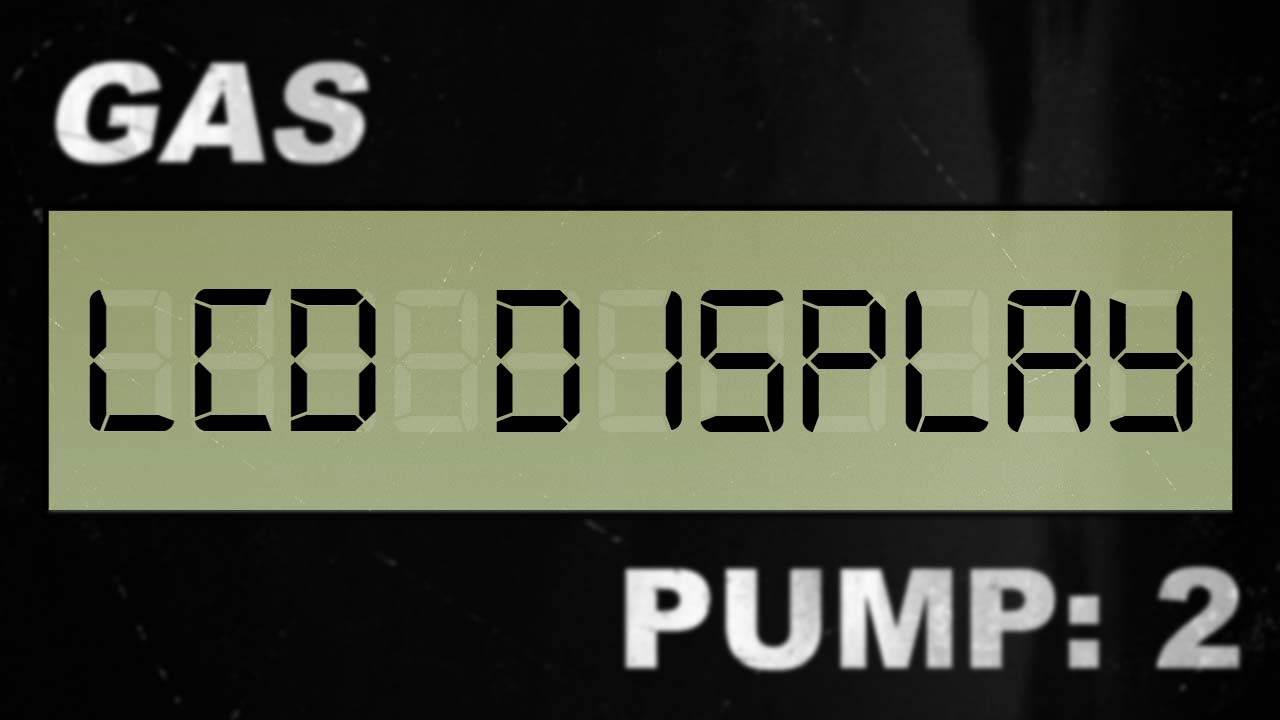
The other day while stepping on the scale, I first thought, wow what did the Holidays do to me!? After my brief moment, I then thought it would be cool to make a Digital Liquid Crystal Display like on the scale or gas pumps in Photoshop. A few days later, here I am writing this tutorial! Let’s begin!
Video Tutorial:
Written Tutorial:
Open up Photoshop and create a new document. File > New. We can name this, “LCD Display“. I set the size to 800x300px for the width and height. With a White background, Click OK.

In our new document, grab the Rectangle Tool(![]() ) and draw out a rectangle. Name it, “LCD BG“.
) and draw out a rectangle. Name it, “LCD BG“.


You can CTRL or Command click to select the Background layer and with the Move tool(![]() ) selected center it Horizontally and Vertically by clicking the appropriate buttons on the toolbar.
) selected center it Horizontally and Vertically by clicking the appropriate buttons on the toolbar.
![]()
Now that we’re all centered, lets add some layer styles to the LCD BG layer. You can double-click the LCD BG layer to open up its layer styles or go to Layer > Layer Style > Gradient Overlay. We need to change the Gradient colors to the following, c0c8ad, and bcbfa1.


Lets also give it a stroke (not the medical term). Size: 6px and Position: Inside.

If you’d like, you can even add an Inner Shadow to this with any settings you prefer.

Alright we’re halfway done! We now need to create the LCD text. But before we do this, we need to download the font. I got my font from Dafont.com. I’ll use the font called DS-Digital which you can get from here. Click the links to learn how to install fonts for Windows and Mac.

Select the Text Tool(![]() ) and choose the font you’ve just installed. I used a font size of 190 pt and choose White for the color making sure it’s Right-Aligned.
) and choose the font you’ve just installed. I used a font size of 190 pt and choose White for the color making sure it’s Right-Aligned.
Click a little off the LCD BG layer to place the text so Photoshop doesn’t think we’re trying to type inside that layer. Type 888.8 and position it in the center of the LCD BG layer following the same methods we used to center the LCD BG layer.

Once centered, lets bring the opacity of the new text layer down to anywhere between 10-15%. This is going to serve as the faded numbers you see in the background of LCD displays.

Duplicate the 888.8 text layer by clicking it and dragging it down to the new layer icon or hit Ctrl-J. Bring the opacity for that layer back up to 100%. This will be our main numbers.

Change the font color of the 888.8 copy layer to Black. We can also lock the original 888.8 layer so we don’t accidentally start typing on it. Go ahead and type in whatever number you’d like to display here now.

If the numbers don’t fit perfectly, you’ll need to create a new text layer for the particular number that doesn’t fit and position it to where it’ll fit in. I unlocked and brought the opacity up for the main 888.8 layer just to see how I could better align the number 1.

Looking good! Lastly we can add some noise. Ctrl click the LCD BG thumb to select it.

Create a new layer either by clicking the appropriate button(![]() ) or by going to Layer > New > Layer.
) or by going to Layer > New > Layer.
Go to Edit > Fill and fill it in with White. You can deselect it by hitting Ctrl or Cmd-D or by going to Select > Deselect up in the menu.

Go to Filer > Noise > Add Noise. Amount: 95%, Distribution: Uniform, Monochromatic: Checked. Click OK.

Change the blend mode of this layer to, “Overlay” and bring the opacity down anywhere between 10-15%.

There you have it! A neat looking Digital LCD Display! Use your imagination and see how you can incorporate this in any of your future projects. An idea would be to make your calculator to say things such as your name.

Download LCD Display .PSD! 937.3 KB


Comments