
Video Tutorial
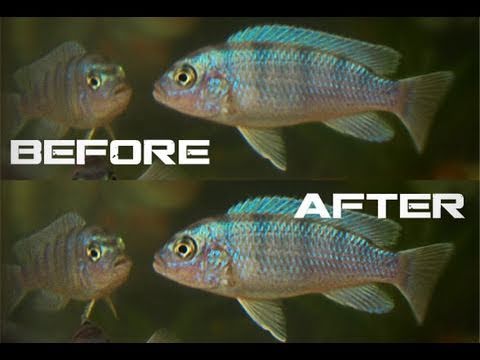
In this tutorial, I show you how to enhance those slightly blurry photos and make them look sharper. Of course, with Photoshop there are many different ways of doing this and this is just one of them. This method will NOT work on EXTREMELY blurry photos.
Facebook: http://goo.gl/RkWTR
Twitter: http://twitter.com/robsproductions
Site: https://www.robertsproductions.net/
Request: https://www.robertsproductions.net/contact…
Email: [email protected] (Questions)
Leave a comment below on what tutorials you would like to see in the future!
Step 1
Duplicate your background layer by clicking and dragging it down to the new layer icon.

Step 2
Go up to the menu bar in Photoshop and go to “Filter”, “Other”, “High Pass”.
Once your High Pass filter window comes up, go ahead and adjust the radius to where you think looks appropriate for the image type. You’re basically looking for the embossed lines to be just visible but not too visible otherwise it will turn out being way too sharp.

Step 3
Change the blending mode of that layer from normal to “Overlay”. If this comes out looking too strong, you can change the blend mode to “Soft Light” instead or “Hard Light” depending on what looks better to you.

Conclusion
There you have it! You’ve enhanced the blurriness of your photo in Photoshop! Remember that there are MANY ways of doing this single method in Photoshop and this is just one of them. Also remember that this will NOT work on EXTREMELY blurry photos.
Before

After

Comments